- Email us at:info@misterconcrete.co.uk
You might think floor screeding is as simple as pouring an ordinary cement mixed with aggregates and water to a floor base. When creating a final surface it is quite important to avoid any mistakes that might happen during the process as quality has to be achieved here to ensure durability. When applied incorrectly it can excessively affect the quality of the floor and can be costly when trying to repair.
It is important to:
1. Choose the right supplier
2. Choose the right type of the floor screed
3. Choose the right way how to mix screed
4. Make sure the screed is poured correctly and protected until it dries

1. Choosing the right supplier.
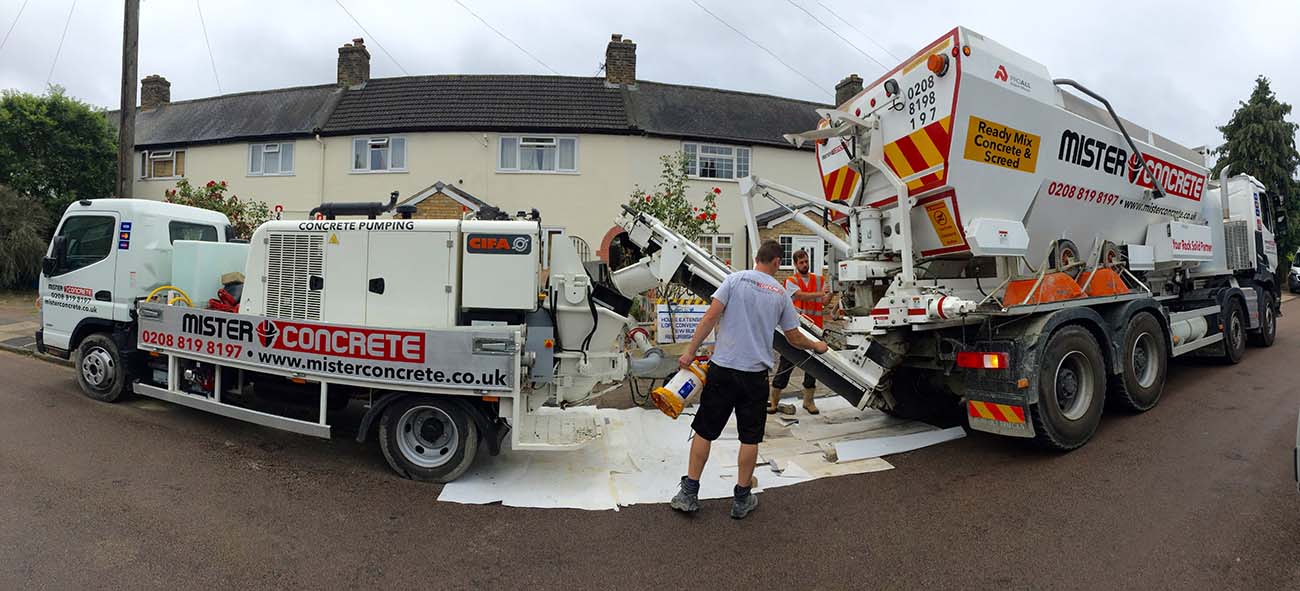
In the market full of floor screeders it might be quite hard to be able to choose the one that will deliver the quality you require. We do recommend talking to your supplier and asking as much as possible before making any decision. You will know straight away whether the supplier has enough experience to undergo your project. Ask about the equipment they use and the workforce available. Once you can choose the one with enough experience, they will most definitely be able to help you with the planning, choosing the correct screed mix, screed laying technique and also meeting your desired budget.
2. Choosing a right floor screed
There are quite a lot of different types of screed types and brands in the market. Therefore it should not be a quick decision to choose the one for your next projects. Every type is suitable for a different kind of project. Let us briefly describe the most used ones.
Traditional screed: Cement and sand mixed usually in the ratio of 1:3-5 used to create a surface suitable for further placing of tiles, wood floor, vinyl and other. Has to be levelled manually, therefore, require more precise work to be done.
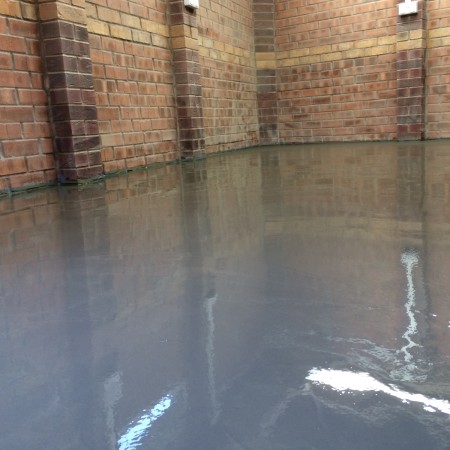
Free-flowing screed: Great helper as it can self-level itself and can provide great results. Not suitable for places that can get wet. Usually used in huge areas such as industrial halls. The disadvantage of such screed is that they are not able to be used as a wearing surface and are not adaptable with cementitious products.
Fast-drying screeds: Traditional screeds has to dry by 1mm per day by the industry benchmark. That means more than 100 days for the regular floor screed thickness (75mm). As usually there is not so much time available in the busy schedule of construction so contractors choose accelerated screeds which can dry in just a few days to be ready for the final floor finish installation.
3. The right way of mixing the screed
Another thing that has to be taken into consideration is the way the screed is mixed. Your decision should be most affected by what is the location of the site and how much space and time is available.
Mixing the screed on site
A huge pro of having a screed mixed on-site is that it is efficient and economic and is also suitable for most of the projects when handled by experience stuff.
Mixing by hand: Requires a lot of man work, therefore, recommended only in small areas.
Freefall mixing: When mixing larger quantities of screed the free-fall mixing are quite often used. The method is suitable when mixing general concrete but when trying to deliver high-quality screed they often fail. The results are then of poor quality and crack easily as people who are in charge of mixing are not always able to keep the required ratio and mix it properly.
Volumetric mixers: Mixing from 1m3 to huge quantities this is mostly the most cost-effective and high quality delivering method there is. Volumetric trucks can create a mix for floor screed on the site mixing all the parts completely with the result of the high-quality screed. Also, any additives can be added. Almost no waste is created and a lot of man-hours are saved.
Ready-mix screeds
When the plant is less than 45 mins from the project, ready mix floor screed is mixed and delivered to the site by the drum mixing truck. This is usually used when we are talking about huge quantities (tens of m3) of the screed used for industrial projects.
4. Making sure the screed is poured correctly and protected until it dries
After choosing the suitable type of needed screed and the way of mixing it, you need to make sure that it is applied correctly. Please follow these steps:
1. Check again whether chose type of screed fit the purpose of your project
2. Make sure that the area you are planning to place a screed on is ready
3. Make sure that the site is watertight
4. Have running water available on the site
5. Prepare your screed using a correct ratio of aggregates
6. Pour the screed in one go, to avoid dry joints
7. Keep the site clean during the whole process
8. Allow poured screed to dry for at least 24 hours before anyone steps on it
9. Try to keep the traffic on the screed as low as possible before the final layer is placed
categories
latest posts
- Expert Tips for Choosing the Best Screed for Underfloor Heating (UFH)
- 15 Must-Have Tools for Working with Raw Concrete
- What exactly does high quality mean when it comes to ready mix concrete?
- Concrete construction safety: Make sure you follow these important rules
- Prefabricated Houses - Is This the Future of UK Housing?
- Useful tips for pouring concrete during cold weather
more
services
Mister Concrete serves domestic, commercial and industrial clients delivering high quality certified ready mix and onsite mixed concrete.
Get in touch with us now
Do not hesitate to use our contact form or give us a call and one of our professionals will be happy to help.
comments